Containerization of an API based on Nest.js using Podman
Let’s discover another framework to develop Web application with Node.js and let’s explore also Podman Desktop as solution to manage the containerization of our application.
What is Nest.js
Nest.js has emerged as a noteworthy player in the Node.js development landscape, offering a pragmatic and structured approach for building server-side applications. Inspired by Angular, it introduces a solid architectural foundation that blends seamlessly with TypeScript. The framework’s focus on modularity and testability simplifies the process of creating scalable and maintainable code. Nest.js incorporates principles from various programming paradigms, making it a compelling choice for developers seeking efficiency and structure in their Node.js projects.
What is Podman
Podman is an open-source container management tool designed for Linux systems, offering container management and execution capabilities without the need for a daemon. This unique feature distinguishes Podman, making it a lightweight and secure alternative to traditional containerization solutions. By eliminating the necessity for a persistent daemon, Podman mitigates potential security risks associated with factors such as root privileges, API exposure, and persistent state vulnerability. This approach enhances the overall security posture of containerized applications, providing users with a robust and efficient container management solution for their Linux environments.
The project
We want to build an API that will allow sport organizations to manage their activities. The first functionality we want to offer is quite simple: an endpoint returning the list of sports supported by the platform. For now only Football (Soccer) and Volleyball will be returned. The names will depend by the language specified in the request so that if this is in Italian we’ll receive “Calcio” (for Football) and “Pallavolo” (for Volleyball).
Start with Nest.js
Let’s follow the steps at https://docs.nestjs.com/first-steps and proceed with the framework installation:
npm i -g @nestjs/cliAfter this, we can create the project scaffold (our project will be called MySportWorld):
nest new MySportWorldDuring the creation it’s possible to choose the package manager (we’ll go for yarn):

Nest will create the directory my-sport-world: entering in the directory will find the application’s files for an application that can be executed on localhost port 3000 with:
yarn startGoing to http://localhost:3000 in the browser, we’ll see message “Hello world!”.
Create the “sports” endpoint
Nest provides a great generator for adding new resource (called CRUD generator) and thanks to this we can let the framework creating all the needed skeleton files:
nest g resource sportsIn our case we choose Rest API for the type of transport to use:

and we answer “Y” to generate the CRUD entry points.
We’ll obtain a new folder “sports” in our project with the following files (with the needed methods and basic code) and folders:

For now let’s implement only the findAll() method of the sport.controller.ts:
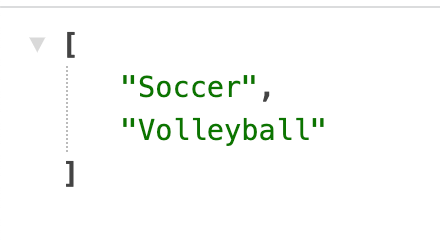
findAll() {
    return ['Soccer', 'Volleyball'];
  }
Running the application with “yarn start” and visiting https://localhost:3000/sports the output will be:
Now, we want to make possible to retrieve a different response if the request will specify the preferred language using the “Accept-Language” HTTP header. The Accept-Language request HTTP header indicates, indeed, the natural language and locale that the client prefers. If that is not specified, we’ll answer with “en-us” as default used locale.
To simplify our development we’ll use nestjs-i18n library:
npm install --save nestjs-i18nWe create a “i18n” folder in the “src” directory of our project and inside that we add the “en”, “en-us” and “it” folders. In each one we create the file sports.json that will contain our translations for the sports. For example, this file in the “it” folder will look like this:
{
    "Soccer": "Calcio",
    "Volleyball": "Pallavolo"
}
The nestjs-i18n documentation specifies that the i18n folder isn't automatically copied to the dist folder during the build process. To enable nestjs to do this a change to the compilerOptions inside nest-cli.json is needed.
"compilerOptions": {
    "deleteOutDir": true,
    "assets": [
      { "include": "i18n/**/*", "watchAssets": true }
    ]
  }
In our app module we import the I18n module which will be visible for the whole application:
import { Module } from '@nestjs/common';
import { AppController } from './app.controller';
import { AppService } from './app.service';
import { SportsModule } from './sports/sports.module';
import * as path from 'path';
import { I18nModule, AcceptLanguageResolver } from 'nestjs-i18n';
and we add some configuration option like the fact that we’ll use the Accept-Language header to retrieve the language of the request (AcceptLanguageResolver in the “resolvers” parameter):
@Module({
  imports: [
    I18nModule.forRoot({
      fallbackLanguage: 'en-us',
      loaderOptions: {
        path: path.join(__dirname, '/i18n/'),
        watch: true,
      },
      resolvers: [AcceptLanguageResolver],
    }),
    SportsModule,
  ],
  controllers: [AppController],
  providers: [AppService],
})
export class AppModule {}
Another change that we do is the change in the findAll method for sport.service.ts to use the language that will be passed as argument:
findAll(lang?: string) {
    return [
      this.i18n.t('sports.soccer', { lang: lang?.toLowerCase() }),
      this.i18n.t('sports.volleyball', { lang: lang?.toLowerCase() }),
    ];
  }
and in the controller sport.controller.ts the method findAll uses the decorator @I18nLang to retrieve it and pass to the service:
@Get()
findAll(@I18nLang() lang?: string) {
return this.sportsService.findAll(lang);
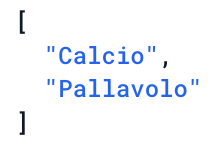
}Now, running the application, sending the request GET http://localhost:3000/sports with “it” in the Acceptance-Language header, we’ll get:
Create the container with Podman Desktop
Install Podman Desktop
From https://podman.io/, download the Podman Desktop application (for Mac OS in my case) and install it (in the “Applications” folder of Mac).
When launched, the application will check the presence of Podman in the system and will allow to launch the installation if needed.
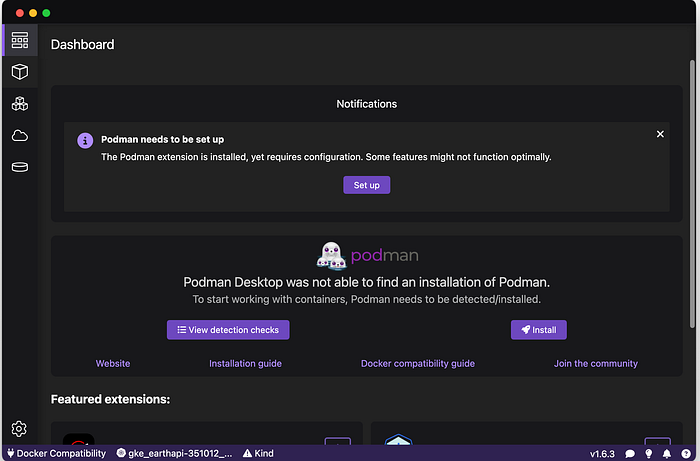
If a virtual machine is not created, Podman Desktop will guide you to create one (you will be able to configure it with specifying some parameter like memory and disk size).
Create a Dockerfile for the app
In the project folder create the Dockerfile with the following content:
# Use the official Node.js image as the base image
FROM node:18-alpine

# Set the working directory in the container
WORKDIR /app

# Copy package.json and package-lock.json to the container
COPY package*.json ./

# Install the application dependencies
RUN npm install

# Copy the entire application to the container
COPY . .

# Expose the port on which the NestJS application will run
EXPOSE 3000

# Start the NestJS application
CMD ["npm", "start"]
Build the image and run the container
Using Podman Desktop
From the application dashboard, click on the “Container” icon on the left menu:
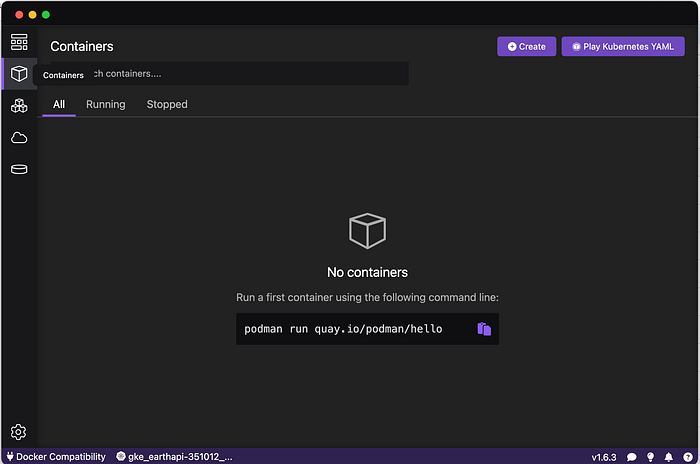
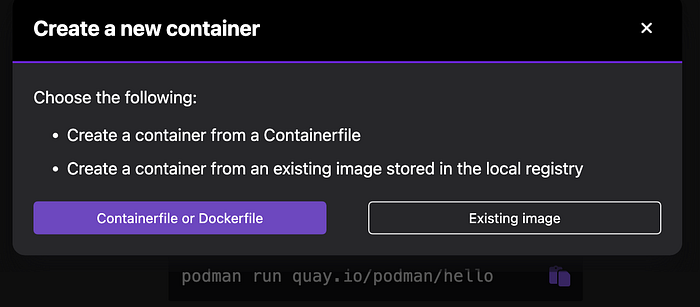
Then, click on the button “Create” at the top right and choose “Containerfile or Dockerfile” to select the Dockerfile created above:
The build image process will start.

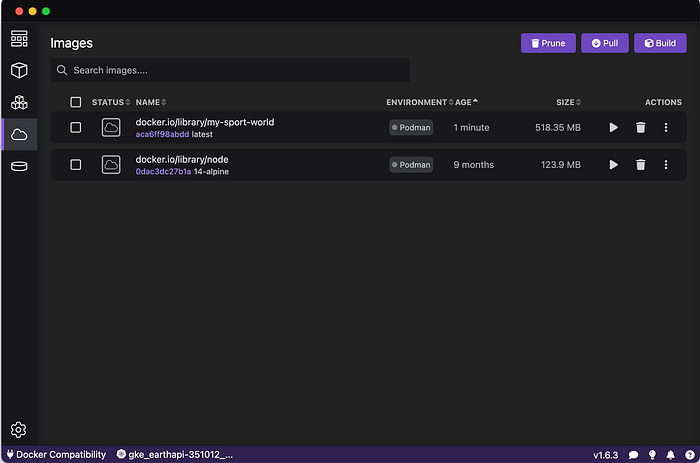
When ended, it is possible to click on the blue button “Done”. We’re redirect to the “Images” section where we’ll find our image “my-sport-world”
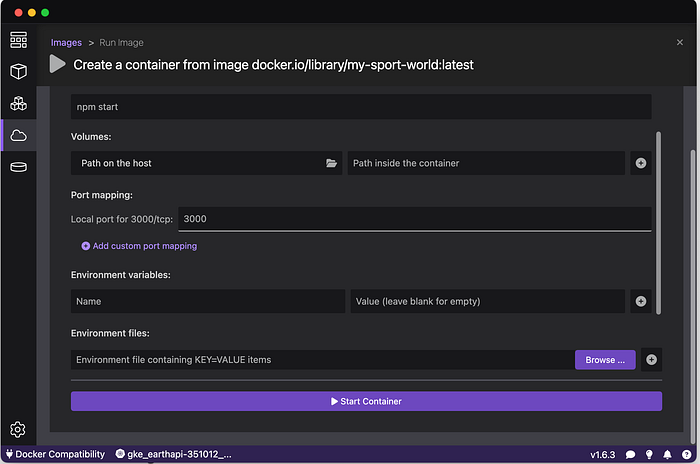
We can click on the “Run” icon on the right side to run the container using that image. The screen below will appear where the “Start container” button will run the application on port 3000. We specify again “my-team-sport” in the “Container name” field at the top and we launch the execution.
The Log console with the messages from the application will appear.
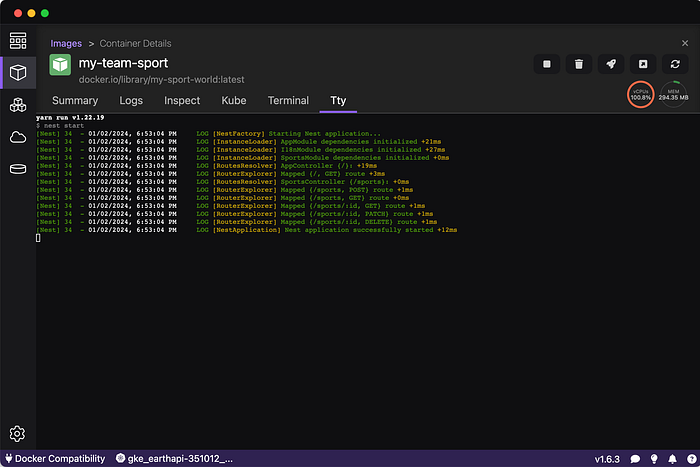
Sending the request GET http://localhost:3000/sports with “it” in the Acceptance-Language header, we’ll get again the array with “Calcio” and “Pallavolo” as result.
Using Podman CLI
The same result can be achieved from the terminal. Inside the project root folder (where the Dockerfile has been created), it’s possible to run the following command:
podman build -t my-team-sport . This will build the image “my-team-sport” (it will be visible also inside Podman Desktop).
Now, the application can be launched with the command:
podman run -p 3000:3000 my-team-sportand it can be tested with the same GET request mentioned in the previous paragraph.
